A Beginners Guide to Shooting 35mm Film
FILED IN: EDUCATION
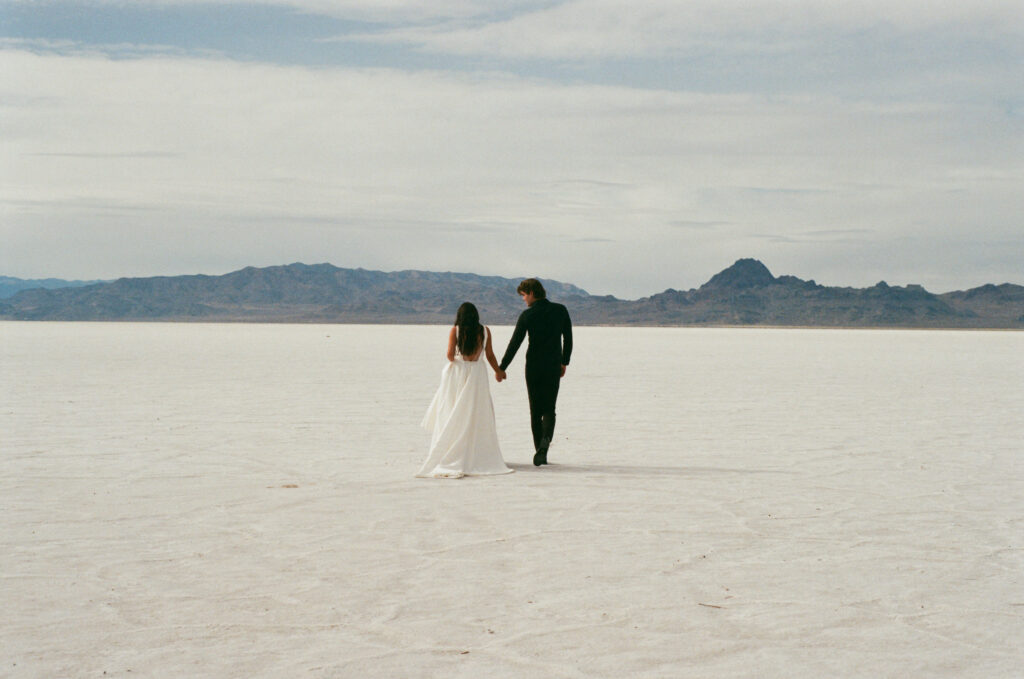
Despite what some think, 35mm film photography is not dead. It’s actually very alive and well. While most people never intend to switch back over to film photography for their full-time medium, we fully understand the desire to shoot film (either for fun or to mix into your business).
Though, shooting film can be daunting, we get it. Which is why we’ve created this beginners guide to give you all the info you need to start shooting 35mm film.
For starters, what is 35mm film referring to?
The term 35mm is referring to the format of the film and the image sensor. 35mm is easily the most common but also the most affordable film option out there (which is why it’s great to start with). The easiest way to look at film numbers (ie. 35mm and 120mm), is the larger the number, the larger the sensor on the camera, therefor a higher quality. Higher quality can also mean less grain – so if you get the hang of 35mm and you’re not digging the grain, you should look into medium-format (120mm).
How to pick your film camera.
This is by far one of the biggest decisions you’ll have when starting out in film photography. For starters, you’ll likely be looking for and buying a used camera, which can be both fun and scary. But the best thing to remember that when it comes to film cameras – you’re not dealing with the same differences that you’re dealing with when it comes to digital cameras.
If you load a Nikon FG and a Canon AE-1 with the same exact film and have the same mm lens on both cameras – they will produce identical images. Really, the only differences between film cameras are: the lenses you’re using (or whatever is fixed onto the camera), the film you are using, and the automation that the camera provides.
That being said, there are five main types of 35mm film camera options. A disposable, a point and shoot, a fully manual SLR, an automatic SLR, and a Rangefinder (which I wouldn’t’ necessarily suggest starting out with).
- A disposable camera is exactly what you think it is. It’s as simple as you can get. Point your camera at whatever you want a photo of and click the shutter button, shoot through the roll, and then you bring the whole camera in to get it developed. They do have reusable disposable cameras now, which is basically a plastic point and shoot.
- A point and shoot is going to be your most basic (but sometimes the most fun because it requires zero thinking). We use our point and shoots a lot for daily life because they’re so easy. You put the film in, it automatically winds it, you point, and shoot. The camera does the rest.
- A manual SLR (like the Canon AE-1). Is just what it says, fully manual. You’ll have to manually load and crank your film into place, set your ISO, your F-stop and your shutter speed, manually focus your lens, and manually unwind your film when you’re done. If you’re lucky your light meter in your cameras view-finder will work which will help you out a lot. But in the scheme of things, it’s pretty similar to how you shoot with a DSLR or Mirrorless camera if you shoot on fully manual.
- An automatic SLR (like a Nikon N90) is exactly what it sounds like. An automatic version of the option above. Meaning when you shut the film door, it’ll automatically roll your film into place, it’ll automatically set your ISO to whatever the film requires, it’ll likely have a digital light meter in the view finder, and it’ll likely autofocus if your lens has that ability. Basically, aside from not being able to view the photo after you take it, it feels pretty similar to shooting a DSLR.
- A rangefinder (like an Olympus 35RC) is a bit different in the sense that you never actually look through the lens, rather a small window on the top right of the camera – just like a disposable. They use a device called a dual-image range-finding device which helps you determine when you’re perfectly in focus while turning a ring on the lens. They’re smaller, lighter, quieter, and typically have better higher image quality (because they have no flipping mirror in them) than the rest of the options mentioned above, they’re just a slower camera to use in the sense of they take a bit longer to set up the photo.
Most of these camera’s will require a battery (though some will work just without the automatic features with a dead battery which is nice). Most either require batteries that look like watch batteries which can be picked up at Target / Walgreens / Best Buy / Online, and some will just take AA batteries or another version. 99% of batteries will be easy to find – just make sure to always have extra on you if you enjoy using all of the features your camera offers.

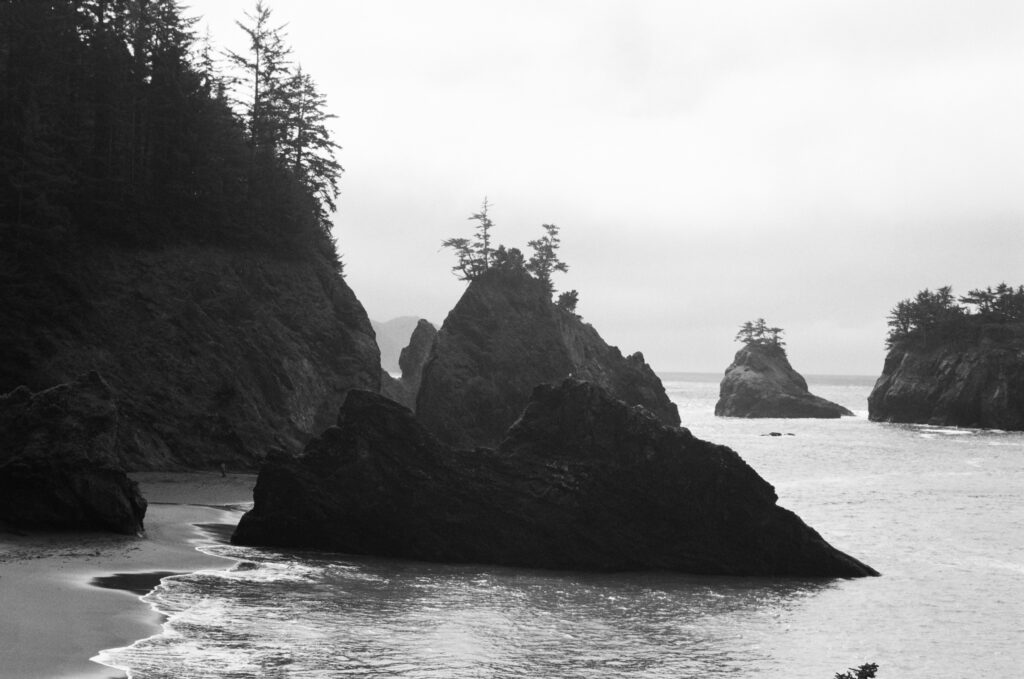
Where your style comes into play, choosing your 35mm film.
Honestly, we believe that picking the right film can be more important than picking your camera. This is all about your style and what you like when it comes to coloring, contrast, and grain.
If you’re starting out, we almost always recommend starting out with a cheap color-negative (color film) to start out. Kodak ColorPlus 200 is cheap and has a nice look to it as well as Fujifilm Superia 400. Color is cheaper to process than black and white as well so you won’t be waisting as much money at first if you’re still figuring things out.
A few general tips when picking film, Fujifilm is usually a bit more green/cool, whereas Kodak is usually a bit more yellow/warm. Another tip is to look at the color of the box, it’ll indicate the tones of the film. Also, the number on the film (ie. 200, 400) is referring to the film speed (ISO) that the film was made to be shot at.
We highly suggest not getting caught up in the “Portra 400 is the best and only film out there” mentality until trying other film. While Portrait is great and beautiful (and incredibly hard to get your hands on) personally, Dana and Bri both prefer Kodak Gold (and it’s a bit cheaper which is always nice).
This is a really good YouTube video that helps you pick out what film you like. Be sure to use the worksheet he’s created that is linked in the caption.
Where to buy your camera & film and what to buy.
This can be the most difficult part of shooting film. Finding a working film camera in good condition at a decent price can be a bit of a task these days. Typically you can buy the more expensive and modern cameras at most camera shops or online at some of our favorite camera stores (KEH, B&H, Robert’s Cameras, and Moment).
You can also sometimes get lucky with local camera stores having used film cameras for sale, these are usually the safest way to go, because you can guarantee the camera works properly. Now, sometimes it’s fun to gamble with eBay, Facebook Marketplace, Depop, and Yard sales – but we always suggest being thorough in asking questions and at least testing it out to see if all of the mechanisms work. If you were to go this route – shoot through a roll of cheap film for fun (not a real session) and get it developed to make sure the camera properly works.
Below, we have a list of our favorite film cameras in all different price ranges as well as some good film options to try.
Point and Shoot Cameras:
- Olympus Infinity Zoom
- Olympus Stylus Epic/MJU0ii
- Olympus Trip 35
- Nikon Zoom Touch 400 (what Bri uses)
- Nikon 35Ti
- Nikon L35AF
- Canon AF35M
- Contax T2 + T3
- Yashica T4
35mm Cameras
- Canon AE-1 (what Dana uses)
- Canon EOS Rebel G
- Canon EOS-1V (professional level SLR)
- Nikon FE2
- Nikon FM
- Nikon F80 (what Bri uses)
- Nikon F5 (professional level SLR) (what Bri uses)
- Olympus OM 1
Disposable + Lomography + Instant
- And Kodak Disposable
- Diana Instant Square Camera
- Lomography Lomo Instant Wide
- Instax Square SQ1
- Instax Mini 11 (what Bri uses)
- Polaroid Now
Our Favorite 35mm Film Options
- Kodak Gold 200 (what Dana and Bri use)
- Kodak UltraMax 400 (a good beginner film)
- Kodak ColorPlus 200 (a good beginner film).
- Kodak Professional Extar 100
- Kodak Professional Portra 160
- Kodak Professional Portra 400
- Fujifilm Superia X-TRA 400 (a good beginner film)
- Fujifilm Fujicolor 200
- Ilford HP5 400 (our favorite black and white). (what Dana and Bri use)
- KodakProfessional Tri-X 400
How to store your film once you buy it.
Keeping and storing film in the fridge (yup, sounds crazy) keeps it fresh and increases the lifespan of the film (significantly). We keep ours in their original canisters in a plastic Tupperware container in the fridge. It’s also important to note that just because you’ve put a roll of film in your camera, doesn’t meant it’s “safe”. Be sure to shoot whatever film is in your camera within less than a week or so so it doesn’t degrade half the film.
This article has some really good tips on how to properly store your film – https://thedarkroom.com/tips-for-storing-photography-film/
Now it’s time to shoot your 35mm film.
All of the settings are generally the same as they would be when using your DSLR or Mirrorless camera, so if you’re already shooting on manual, shooting in film wont be much different for you!
The main difference is what happens when you change your ISO when your film is rated for a certain ISO. This is when “pushing and pulling” your film comes in. You push your ISO in increments called “stops”, which just means your change your ISO on the camera to your desired stop and meter the whole roll as if it’s at that ISO. Keep in mind, your camera won’t recognize that though, so using an external light meter is important in this sense. Keep in mind, you’ll need to tell wherever you get your film developed at that you shoot the roll at a different ISO for processing.
Important Terminology
- ISO – The sensitivity rate to light. Also known as the “film speed”.
- Shutter Speed – The speed in which the mirror in your camera flips down to capture the image, it also refers to how much light is being let into the camera (the slower the mirror flips down(i.e. 1/250), the more light. The faster it flips down (i.e. 1/600), the less light).
- Film Stop – A stop in which you’re either doubling or halving the amount of light let into the camera.
- Push – Doubling the amount of light let into the camera.
- Pull – Halving the amount of light let into the camera.
- Processed – Also know as developed.
Where to get your film developed.
While in theory this shouldn’t matter too much, it actually does. Finding a good quality lab is incredibly important and make take some trial and error on your part. Sometimes, you can get lucky and your town/city will have a place in town that does a really good job, which can result in a tad bit quicker turnaround time.
Though, if you don’t have a local spot, here’s a list of online locations for getting your film developed.
- The Dark Room
- Indie Film Lab (what Bri uses)
- State Film Lab
- Blue Moon Camera
- Darkslide Film Lab (what Dana uses)
- Safelight Imaging
You can either opt to get your film back in prints, or digitally.
Troubleshooting your film issues.
It’s okay if your film doesn’t come back perfect the first time, or even the second, or third. Heck we even get rolls of film back that have some issues somewhere in the roll – it’s sort of the art of things. Sometimes it’s user error and other times it’s the camera or film, we’ve broken down some of the most common errors below for you.
Underexposed Film
- Your scans will look dark/faded/hazy with very low contrast. The negatives will usually be very faint/see through. Check to see if your light – meter is working, if it’s not i’d use an external light – meter (free ones on our phones)
Overexposed Film
- The highlights in your scans will be dull and gray. Your negatives will typically be very high in contrast. Check to see if your light – meter is working, if it’s not i’d use an external light – meter (free ones on our phones)
Obstruction in the Film Scanner
- These will appear as tiny white marks or lines on your film scans. This is something that you can’t fix as it has to do with your film being processed. I would talk to the lab.
Light Leaks
- While sometimes very cool, these appear as faded or streaks in your film scans. Double check the seals on your camera, if they seem good to go – bring it in to a professional.
Loose Film Roll
- You’ll get a soft red or white line across an entire edge of your scanned frame. Be sure your film is tightly sealed in the canister after removing it from the camera.
Camera Advancement Issue
- When looking at your negatives, your photos (frames) will be too far apart or they will overlap. Which this can happen if your film is loaded in wrong, if you’re confident that wasn’t the case, bring your camera in to a professional and have them check it out.
Camera Scratch
- You’ll see a very sharp straight line across your scan, either light or dark. This typically means your camera needs a good clean. Bring it in to a camera store if you’re not comfortable doing this yourself.
The Staircase Effect
- There will be soft, evenly – spaced, dark bands on your photo. This happens when you’re overexposing your images, be sure to use a working light-meter.
X-Ray Damage
- This will appear as large, wavy patterns across your film. ALWAYS remember to carry your film onto the plane with you (both used and unused as well as if theres film left in your camera) and ask them to hand check it when you go through security.
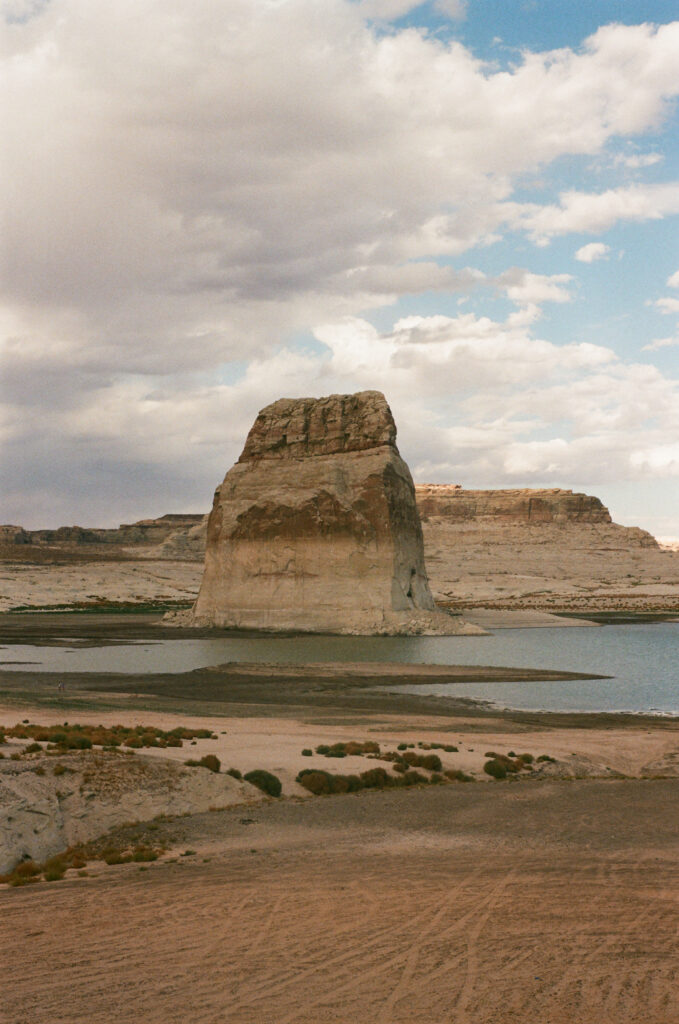
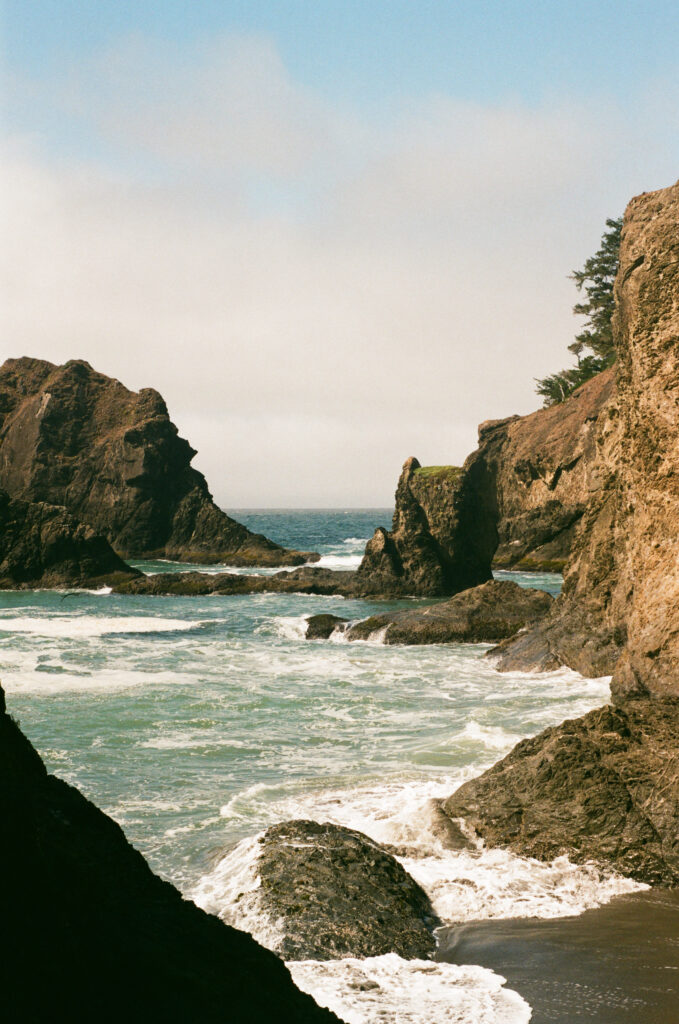
Now get out there and start shooting film!
Here for community and not competition?
See where we are heading next!
X
D & B